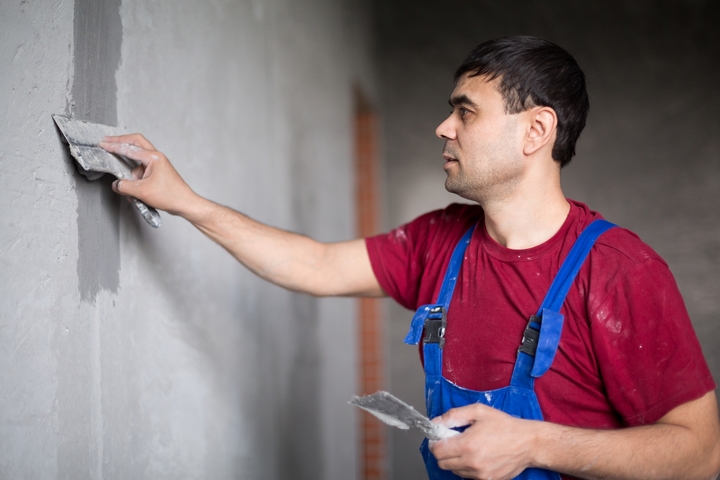
Painting your home can be an exciting project, especially if you have been dreaming about changing the colour of your walls for some time. But even if you are in a hurry to get started, you can’t dip your paint roller in paint just yet.
You will first have to take the furniture out of each room to be painted as much as possible and protect the floor with protective sheets. You will also need to gather your painting supplies. Keep in mind that the paint you need varies depending on your location. If you are painting exterior walls, you should use Benjamin Moore outdoor paint for that special touch.
After gathering the equipment, you will have to prep your walls before painting them. Prepping your walls will require extra time and effort, ensuring a great result with a beautiful finish. Read these tips on how to prep walls before painting.
1. Remove wallpaper from the walls
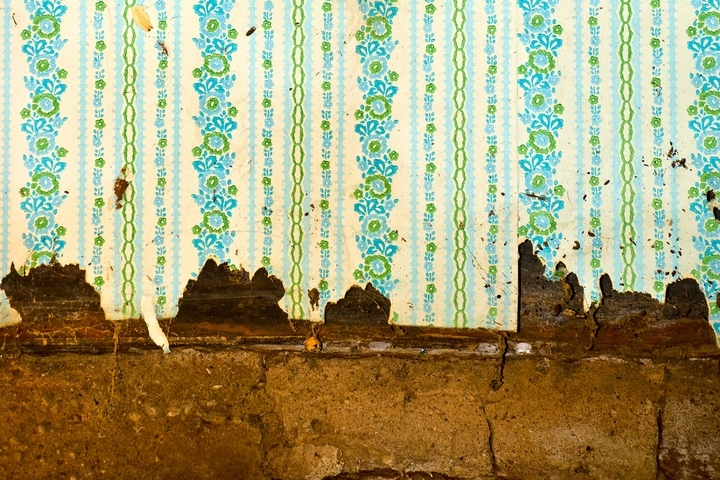
If some of the walls you want to paint are covered with wallpaper, you could technically paint over them. But just because you can doesn’t mean you should.
If you are serious about getting the best finish possible, you have to remove the wallpaper. This is a lengthy process, but it will be worth it.
You first have to use a stripping knife to mark the wallpaper with diagonal crosses to remove wallpaper. Then, you can either use a steam stripper or a sponge soaked in hot water to dampen the paper. You should then be able to remove it with your stripping knife.
When most of the wallpaper is removed, you can finish your removal operation with sandpaper.
2. Start by cleaning the walls
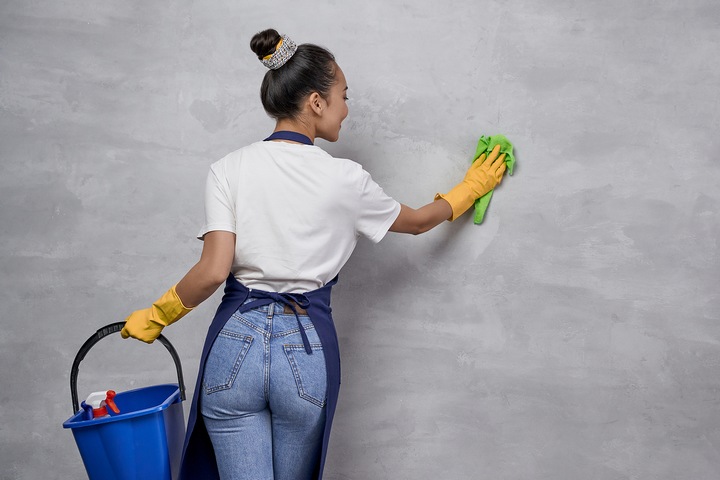
Cleaning the walls will be even more important if you have just removed the wallpaper. But even walls that were never covered with wallpaper will need to be cleaned thoroughly to ensure there isn’t any dust, oil, or greasy fingerprints.
Start by making sure there aren’t any cobwebs, then use a sponge and warm water to wash each wall. For kitchen walls or walls exposed to oil and grime, it might be necessary to use a mild detergent.
Rinse well, and above all, let the walls dry completely.
3. Remove any mildew you see
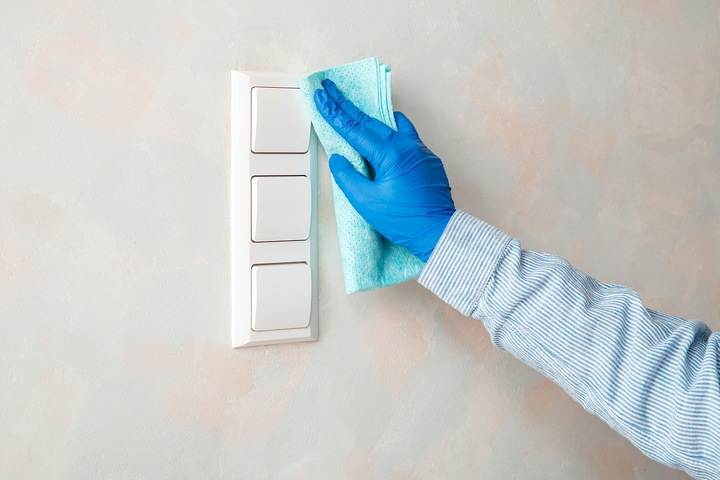
Did you notice some black, gray, or brown spots on the walls while washing them? If these spots do not disappear, you are probably dealing with mildew.
Mildew usually grows in bathrooms and other humid environments, but it could appear anywhere in your home. Be sure not to paint over mildew, as it will grow through the new coat of paint and ruin your efforts.
To safely remove mildew, prepare a mixture of 3 parts water to 1 part bleach. Apply this solution to the mildew spots with a sponge, wait a few minutes, then gently scrub with a soft brush. After the mildew has disappeared, rinse off the walls with water.
Be sure to wear gloves and protective goggles while working with bleach.
4. Fill cracks or holes with a putty knife
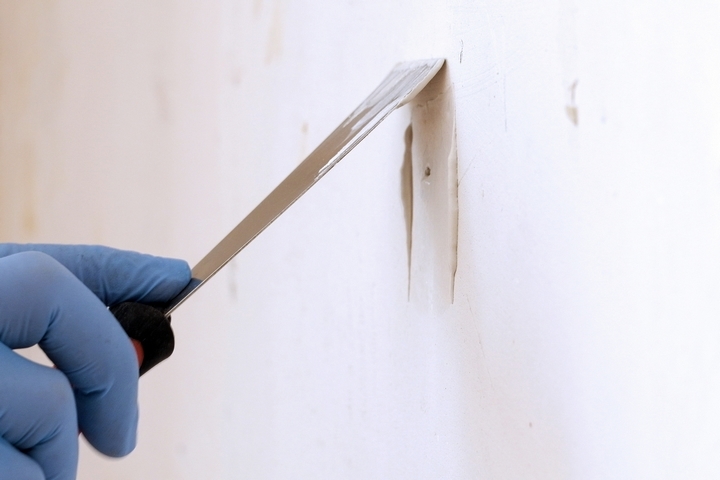
If there are cracks or holes in your walls, you should fill them to make them disappear. You will need some filling putty, a flexible putty knife, and a sheet of fine sandpaper.
Simply take some putty with your putty knife, push it into cracks, holes and gaps, then smooth it down. Let the putty dry completely, then sand it down with your sandpaper.
5. Sand imperfections and uneven surfaces
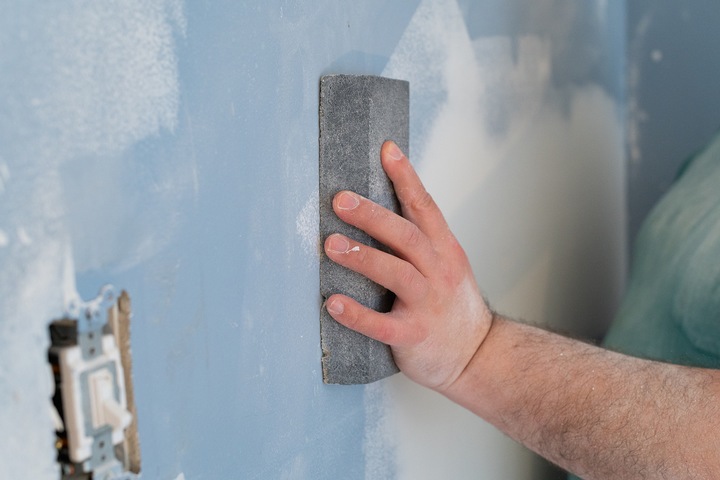
Filling putty is not the only thing that needs to be sanded down. Rough spots, imperfections, and cracking or flaking paint must be sanded down with fine sandpaper or a sanding block.
For cracking or flaking paint, it might be necessary to use a scraper to make sure the flakes are completely removed. You should never paint over damaged paint, as this will not solve the problem.
You should also know that if your walls have previously been painted with high-gloss paint, you should consider smoothing them with fine sandpaper. This will help create a better surface for the new paint to bond to.
6. Clean the walls again
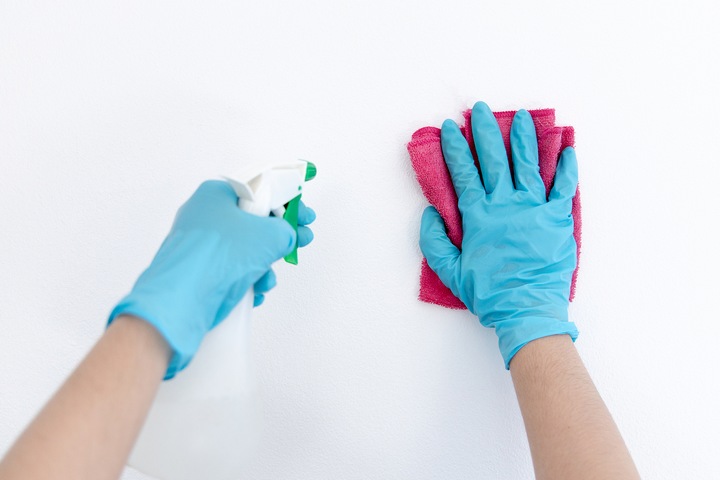
All this sanding has undoubtedly created a lot of dust, so you should clean the walls again before painting them. This time, wiping the walls with a damp cloth should be enough. Just make sure you let the walls dry completely before you paint.
It could also be good to use a vacuum cleaner to remove the sanding dust that fell on the floor while waiting for the walls to dry.
7. Prime the walls before painting them
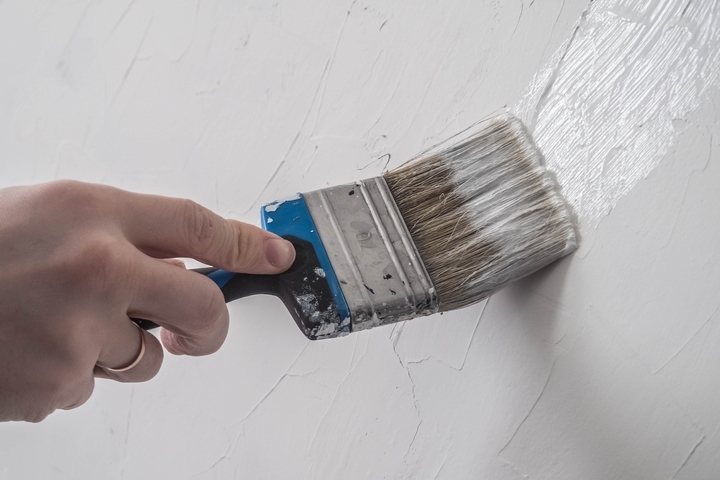
Now that your walls are ready, you should prime them before applying the first coat of colour. Primer will help cover remaining imperfections, it will create a smooth surface for your paint, and it will allow you to make the most of whichever colour you have chosen.
When the primer is dry, you can finally start painting your walls!
