You’ve found the home of your dreams! But there’s one problem: the walls are covered in all kinds of dark colours. You start imagining all the work it’s going to take to cover them up, thinking it’s going to take hours and hours to get them to a lighter shade.
While it will take some work to get to the colour you want, it’s not as bad as you think! Before your painters dive into this project, it’s best to have an idea of what the process will entail.
We break it down into six easy steps on how to paint over dark walls:
Step #1: Make sure you have the right paint supplies

First things first: make sure you have the right supplies at the ready. There’s nothing more frustrating than starting a project, only to have to run out to the store a few times. Choose the right paint for the job. When covering dark walls, it’s recommended to choose an acrylic-based paint. It works just as well as oil-based paint but has the added advantage of being better for the environment.
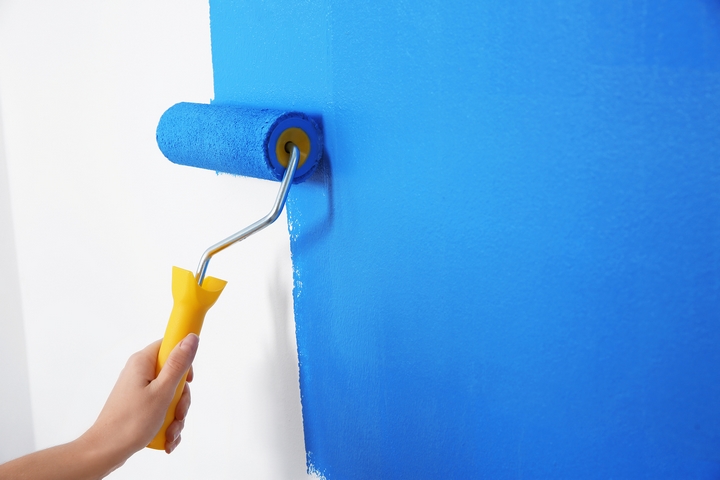
Next up, choose the right roller for the job. It will need to be the right thickness. To help determine what thickness you need, consider the texture of the wall. The rougher the wall is, the thicker you’ll need your roller to be. These rollers work by holding more paint than their thinner counterparts, which helps get into all those tricky areas, helping you to cover the surface more efficiently.
Of course, you’ll need all of the regular paint supplies like drop cloths for the floor, painter’s tape, and paintbrushes.
Step #2: Prep the walls for painting

When you paint over dark walls, you need to patch and sand all of the holes. It’s also recommended to clean the surface as much as possible to help the paint stick better. This gives you an opportunity to get anything that’s stuck on the wall off to ensure you have a smooth canvas for the new paint. A good trick is to use a magic eraser to help get the walls in shape before you begin painting.
Here is where you’ll cover the floors with drop cloths and outline the ceiling and baseboards in painter’s tape.
Step #3: Cover the walls in primer

An important tip when painting over dark walls is to apply a primer to the walls first. We recommend using a white primer. This provides a base layer and helps ensure that the new colour comes through once dried. Using a primer also helps reduce the number of coats you’ll need to give the walls.
For best coverage, give the walls two coats of primer when covering dark walls.
Step #4: Use the proper technique when painting

Now that your primer is dry, you can move onto painting your walls in the new colour you’ve chosen. For the best paint job possible, roll the paint onto the wall using large “M” or “W” shapes. This technique helps lay the paint on better than using an up and down motion.
Pro tip: don’t leave too much paint on the roller. Remove excess paint by making use of the slanted part of the roller tray. This is a great way to ensure you don’t end up with walls full of roller lines!
Step #5: Apply two coats of paint

Now that you know how to properly apply the paint, you can get to work painting over dark walls.
If you have applied the first coat and the colour doesn’t appear to be as solid as you hoped, don’t worry. Not only will the paint dry darker than when it’s wet, but chances are you just need a second coat of paint to finish the job.
It’s always best to apply two coats of paint to the walls to ensure proper coverage, especially when covering dark walls. Make sure to let the coats of paint properly dry between each coat. This gives you the perfect opportunity to take a much-deserved break!
Step #6: Look for any spots you missed

Finally, all that’s left to do is take a look over your paint job to see if there are any spots you may have missed. It’s best to do this during the day when you have lots of natural sunlight. Get out your paintbrush and touch-up any missed spots. Then, voila! you’re done!
It may seem like a lot of steps, but by slowing down and taking things one step at a time, you’ll make sure the paint job is done right, effectively covering up those ghastly dark colours! It will surely be worth the effort once you get to sit back and enjoy your new bright and cheery room.
